
It's my turn again to post on the My Scrap Chick blog and today I am working on a fun St. Patrick's Day Decoration.

Have you tried the 3D letters yet?
They are so easy to do, but they look like it took hours of work.

The best part about these letters is they can fold down so you can mail them or store them without taking much room at all.
To decorate the letters I used some different green papers I had on hand from a project last year.
(I am a paper hoarder- its true.)
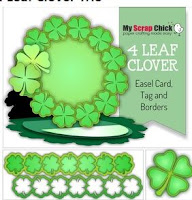
The 4 leaf clovers are from the 4 Leaf Clover Trio.
Make a few Shamrocks in different sizes then tie them on to the letters.
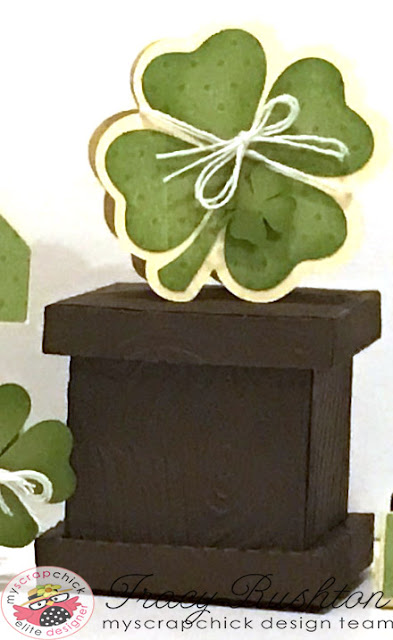
The stand was made using the Prim Wood Pillar Set.
Choose the smaller pillar and then size it down just a little.
I ran all the pieces through my Big Shot with an Embossing folder from Dairce.
I did the same thing with the inside of the letters but its hard to see from the pictures.
To make the card that sits on top of the stand I used the shamrock from the card set again and my Silhouette.
1. Resize the Shamrock to 2.5 "
2. Open the Offset window and choose an offset of .25" (the default setting)


I changed the line to black just to make it easier to see.
3. Open the replicate window and choose Mirror Above.

4. Open the Modify window and with both the shapes selected, choose Weld

5. To finish the card, create another copy of the original Shamrock and make it smaller.

You have all your pieces for a small card.
Cut and assemble.
I also put together a little video on how to do this.
I hope yo will try the 3D letters.
There is so much you can do with them.


Beautiful project!
ReplyDeleteVery nice project!!! good tutorial too
ReplyDeleteThank you ladies. It was such a fun project
ReplyDeleteI appreciate the project ideas ya'll provide! I love it when I have the supplies on hand, now I can get busy and be ready for this holiday. Thank you
ReplyDelete